April 22, 2021
In this section we will go over our products in more detail than on our product page starting with Steeldeck 7.5. We will try and answer some of the most asked questions and give you tips on how to use these systems.
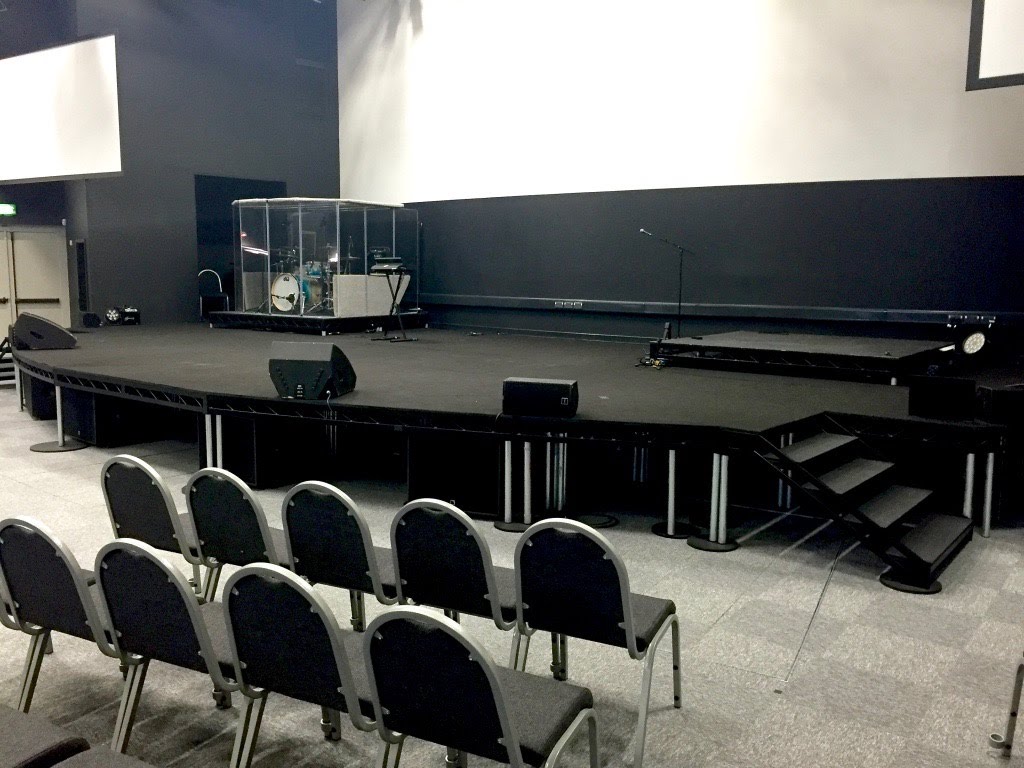
Steeldeck 7.5
What more can be said about Steeldeck? This system has earned its reputation as one of the most adaptable on the market, finding its place across diverse sectors: hire and set companies, film and theater (supporting Jimmy Jib and Technocrane platforms in West End theaters), exhibitions, schools, military applications, festivals, and events—the list goes on.
As one of the first modular staging products we developed, Steeldeck has continually evolved. With our redesign of the original concept, we’ve achieved a 7.5 Kn load capacity, backed by detailed structural calculations. Available in both imperial and metric, the unit offers a range of accessories, from standard handrails and treads to specialized components like multi-couplers and bolt-on corner posts.
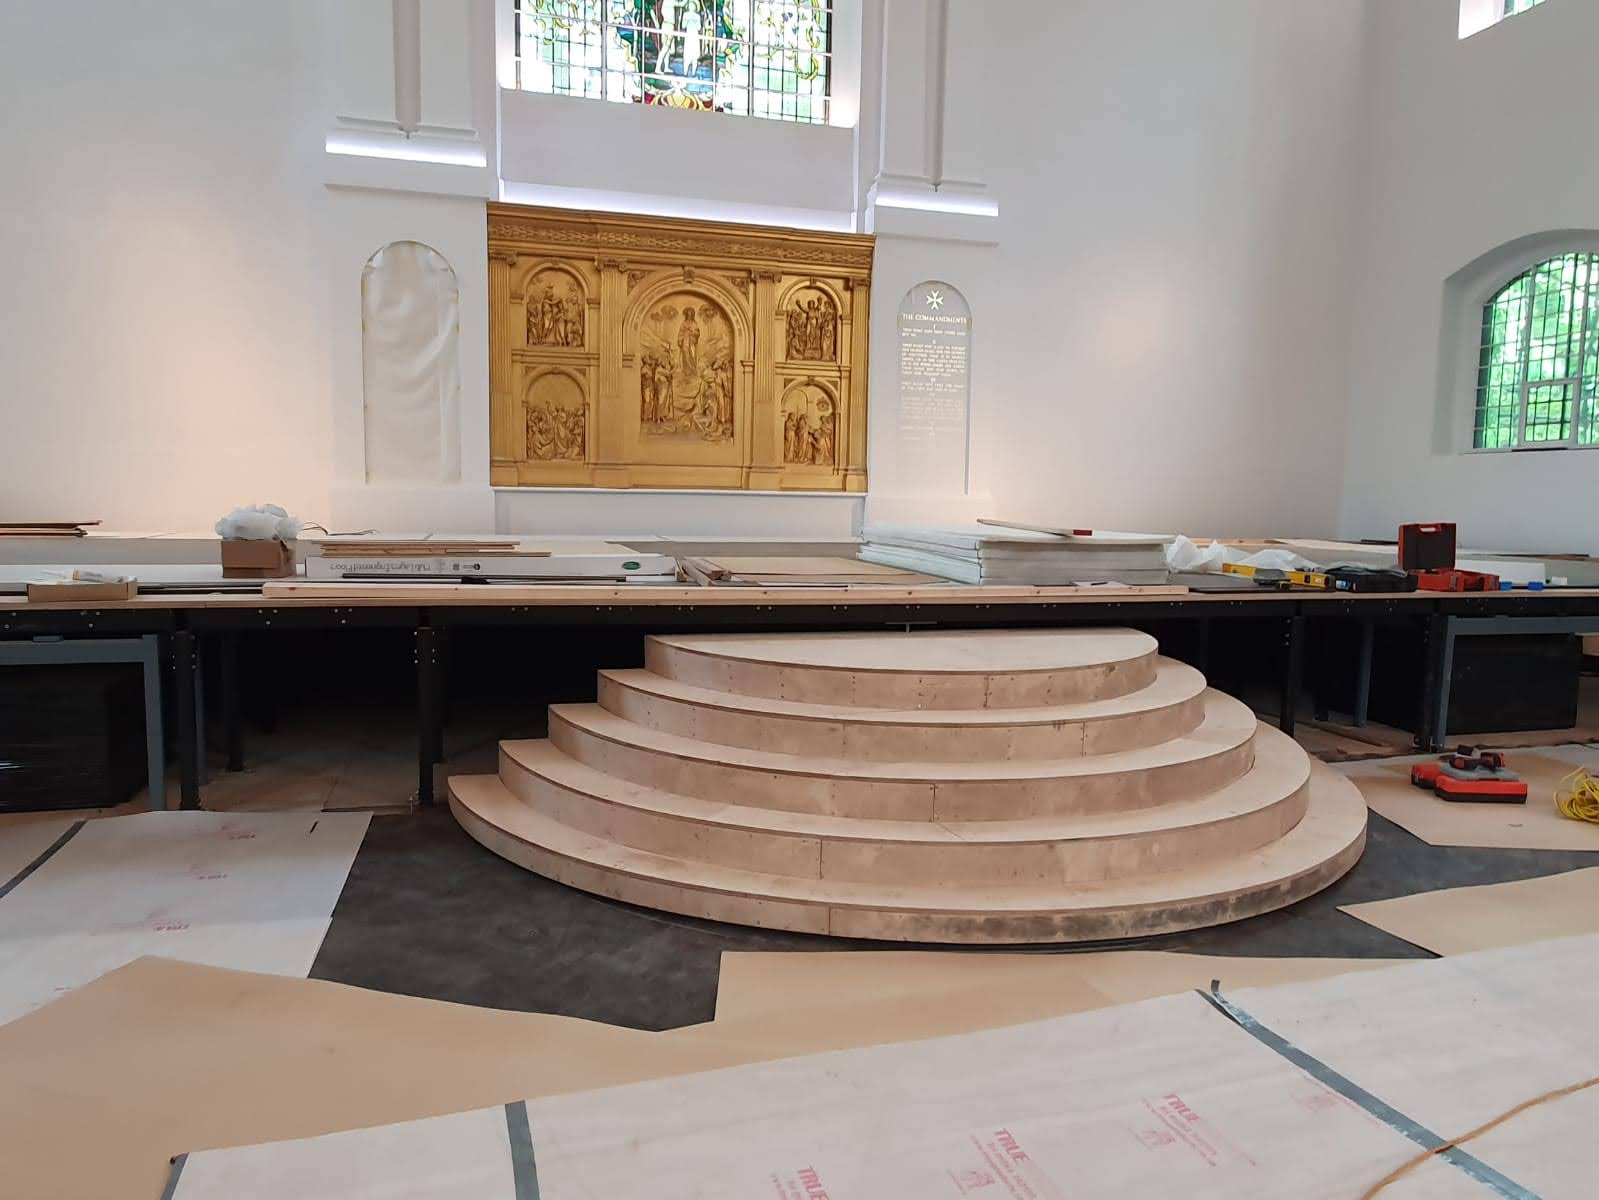
Steeldeck’s flexibility extends to both flat and raked stages, making it ideal for a variety of applications. It can even be used to adjust the rake of an existing stage, perfect for accommodating unique performance needs like those of a dance troupe.
We also offer a leg customization service, where we cut and mark your legs for easy setup, whether for a raked stage or a flat stage on uneven ground.
Feel free to give us a call or send an email to learn more about this service and how Steeldeck can meet your staging needs.
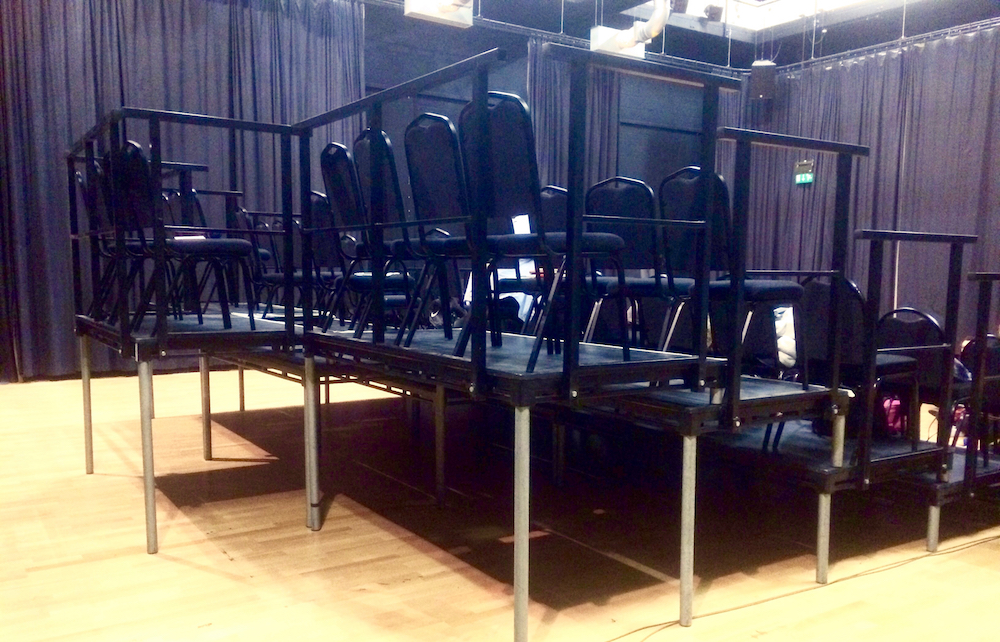
Steeldeck staging
Set-up Tips
Before we dive into the specifics, let’s start with some general guidelines. Though the procedures we’ll cover apply broadly to different setups, a few details are unique to Steeldeck 7.5:
- Bracing Requirements: Steeldeck 7.5 doesn’t require bracing if used at heights under 1500mm (deck finishing height, or DFH). However, the Institute of Structural Engineers’ Temporary Structures (4th edition) recommends bracing at 1200mm DFH and above.
- Handling: Always use at least two people to handle Steeldeck 7.5 decks safely.
Step-by-Step Setup Guide
- Positioning the Deck
- Stand the Steeldeck on its long edge near its final position.
- Ensure the corner post bolts are retracted enough to allow the legs to be fully inserted.
- Inserting the Legs
- Insert the legs into the bottom corner posts first. This keeps the deck more stable during setup and prevents you from bumping your head.
- Insert the leg fully into the corner post and tighten the bolt, but do not over-tighten—the bolt only needs to secure the leg, not clamp it forcefully. Over-tightening can damage the bolt or cause the leg to stick.
- We recommend using an impact driver with a reversible 17mm/19mm socket, and using steel legs rather than aluminum for optimal stability.
- Righting the Deck
- With the legs secure, carefully tip the deck onto its legs. Ensure at least two people are involved, and verify there’s enough space to maneuver.
- Position yourself at either end of the deck, place the side of your foot by the bottom leg, and gently stand the deck upright.
- Positioning and Connecting Decks
- Start positioning decks from the center of the stage outward, moving from the back of the stage forward.
- Once you have two decks side-by-side, use connecting bolts to secure them together. We recommend only finger-tightening these bolts until the entire stage or at least a couple of rows are in place.
- For connecting, use either M10 60mm bolts or our purpose-designed deck bolts.
- Ensuring Alignment
- As you build the first row of decks, periodically measure the distance from the back of the deck to the wall to ensure the stage remains square.
- Alternatively, set up a string line before beginning to help guide the alignment.
Dismantling the Stage
To dismantle the stage, simply reverse the setup instructions. Always handle components with care and keep two people on hand for each deck section.

Steeldeck Install

Steeldeck Modular Staging
Transportation and storage.
For ease of movement, we recommend using castors with Steeldeck 7.5 decks whenever possible. However, in venues with limited width, our double and single chariots are ideal alternatives, minimizing manual handling while ensuring safe transport.
Stacking Decks for Storage or Movement
- Initial Setup
- Place the first Steeldeck either on its wheels or stacked flat on the floor. If forklifts are to be used, stack on bites to allow clearance.
- Ensure the wood surface of the deck faces upward.
- Stacking the Decks
- Position the next deck on top, wood to wood. At this point, you may place the legs intended for building your stage onto the upturned deck for convenient access.
- Insert a stacking leg (approximately 250mm) into opposite diagonal corners. These legs don’t need to be tightened—leave them loose in the corner posts.
- Place the next deck, aligning corner post to corner post, and repeat until the stack is complete.
- Securing the Stack
- If stacking on castors, use a ratchet strap to secure the decks before moving to prevent shifting during transport.
Moving Large Quantities of Steeldeck
For larger quantities, consider one of our Ambidecks, designed with built-in lifting bars for forklift handling, or a Steeldeck with forklift pockets for added stability. Always avoid stacking decks corner post to wood for extended periods, as this can damage the wood surface.
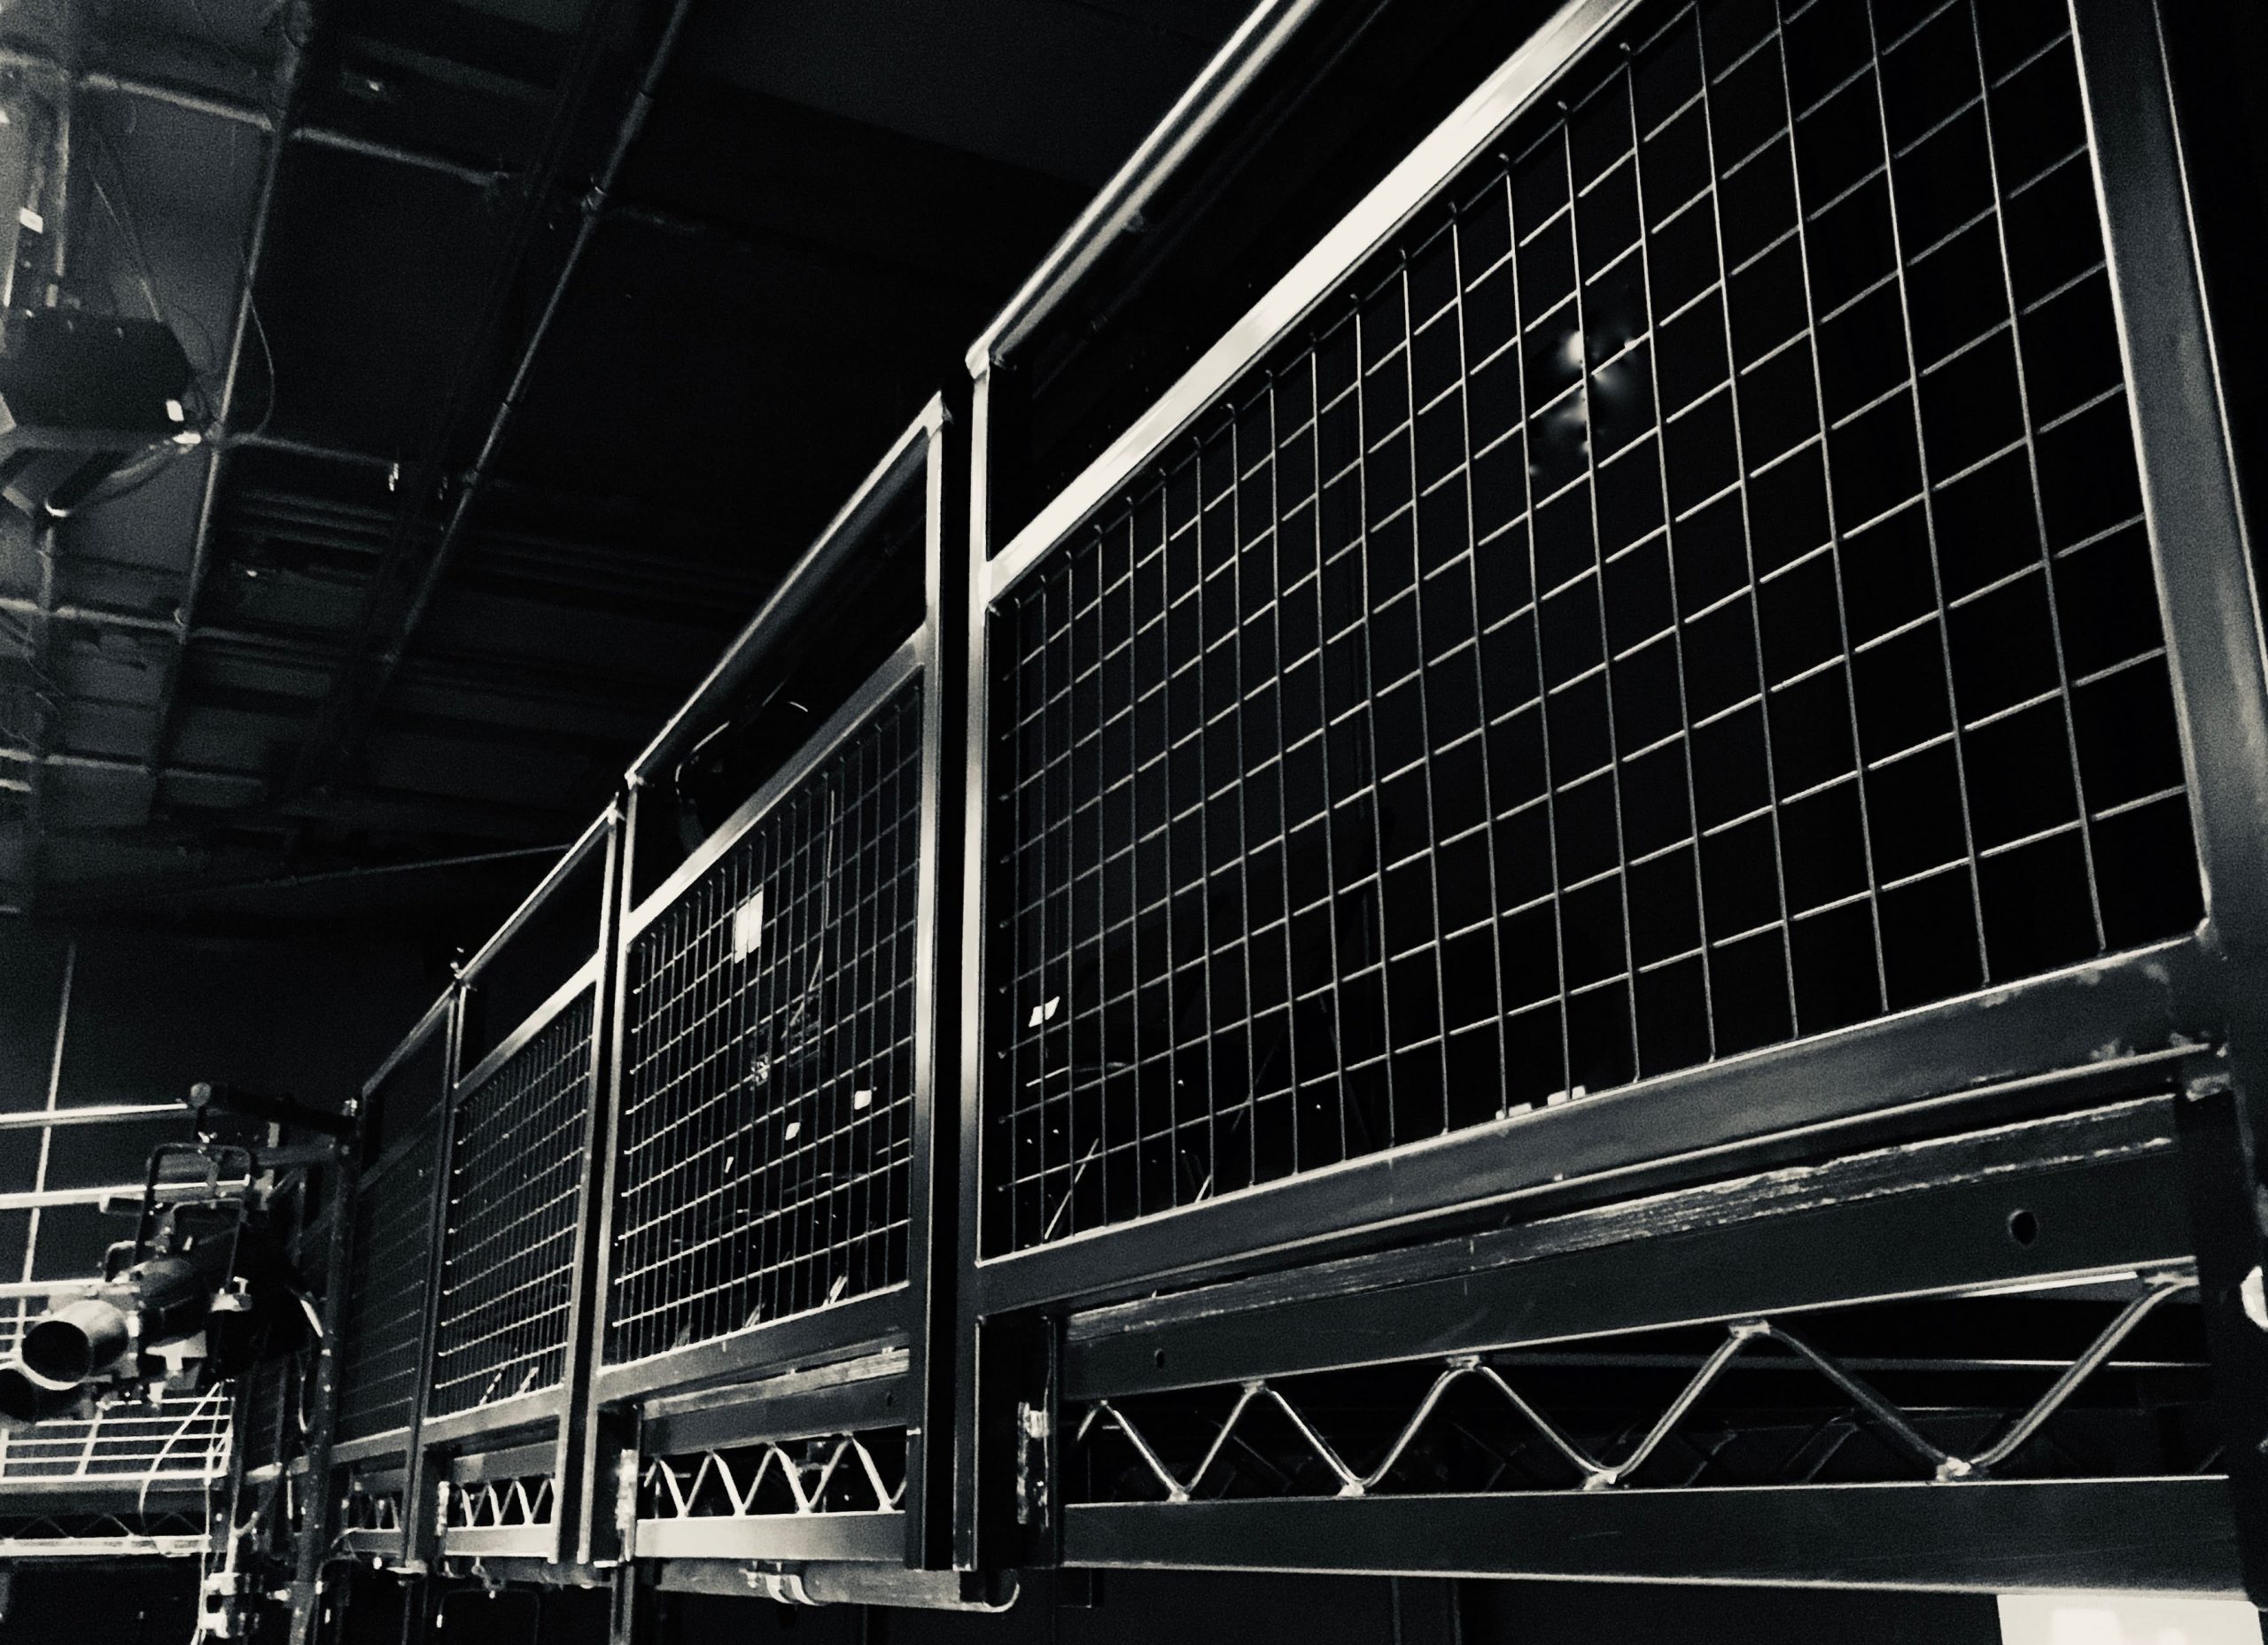
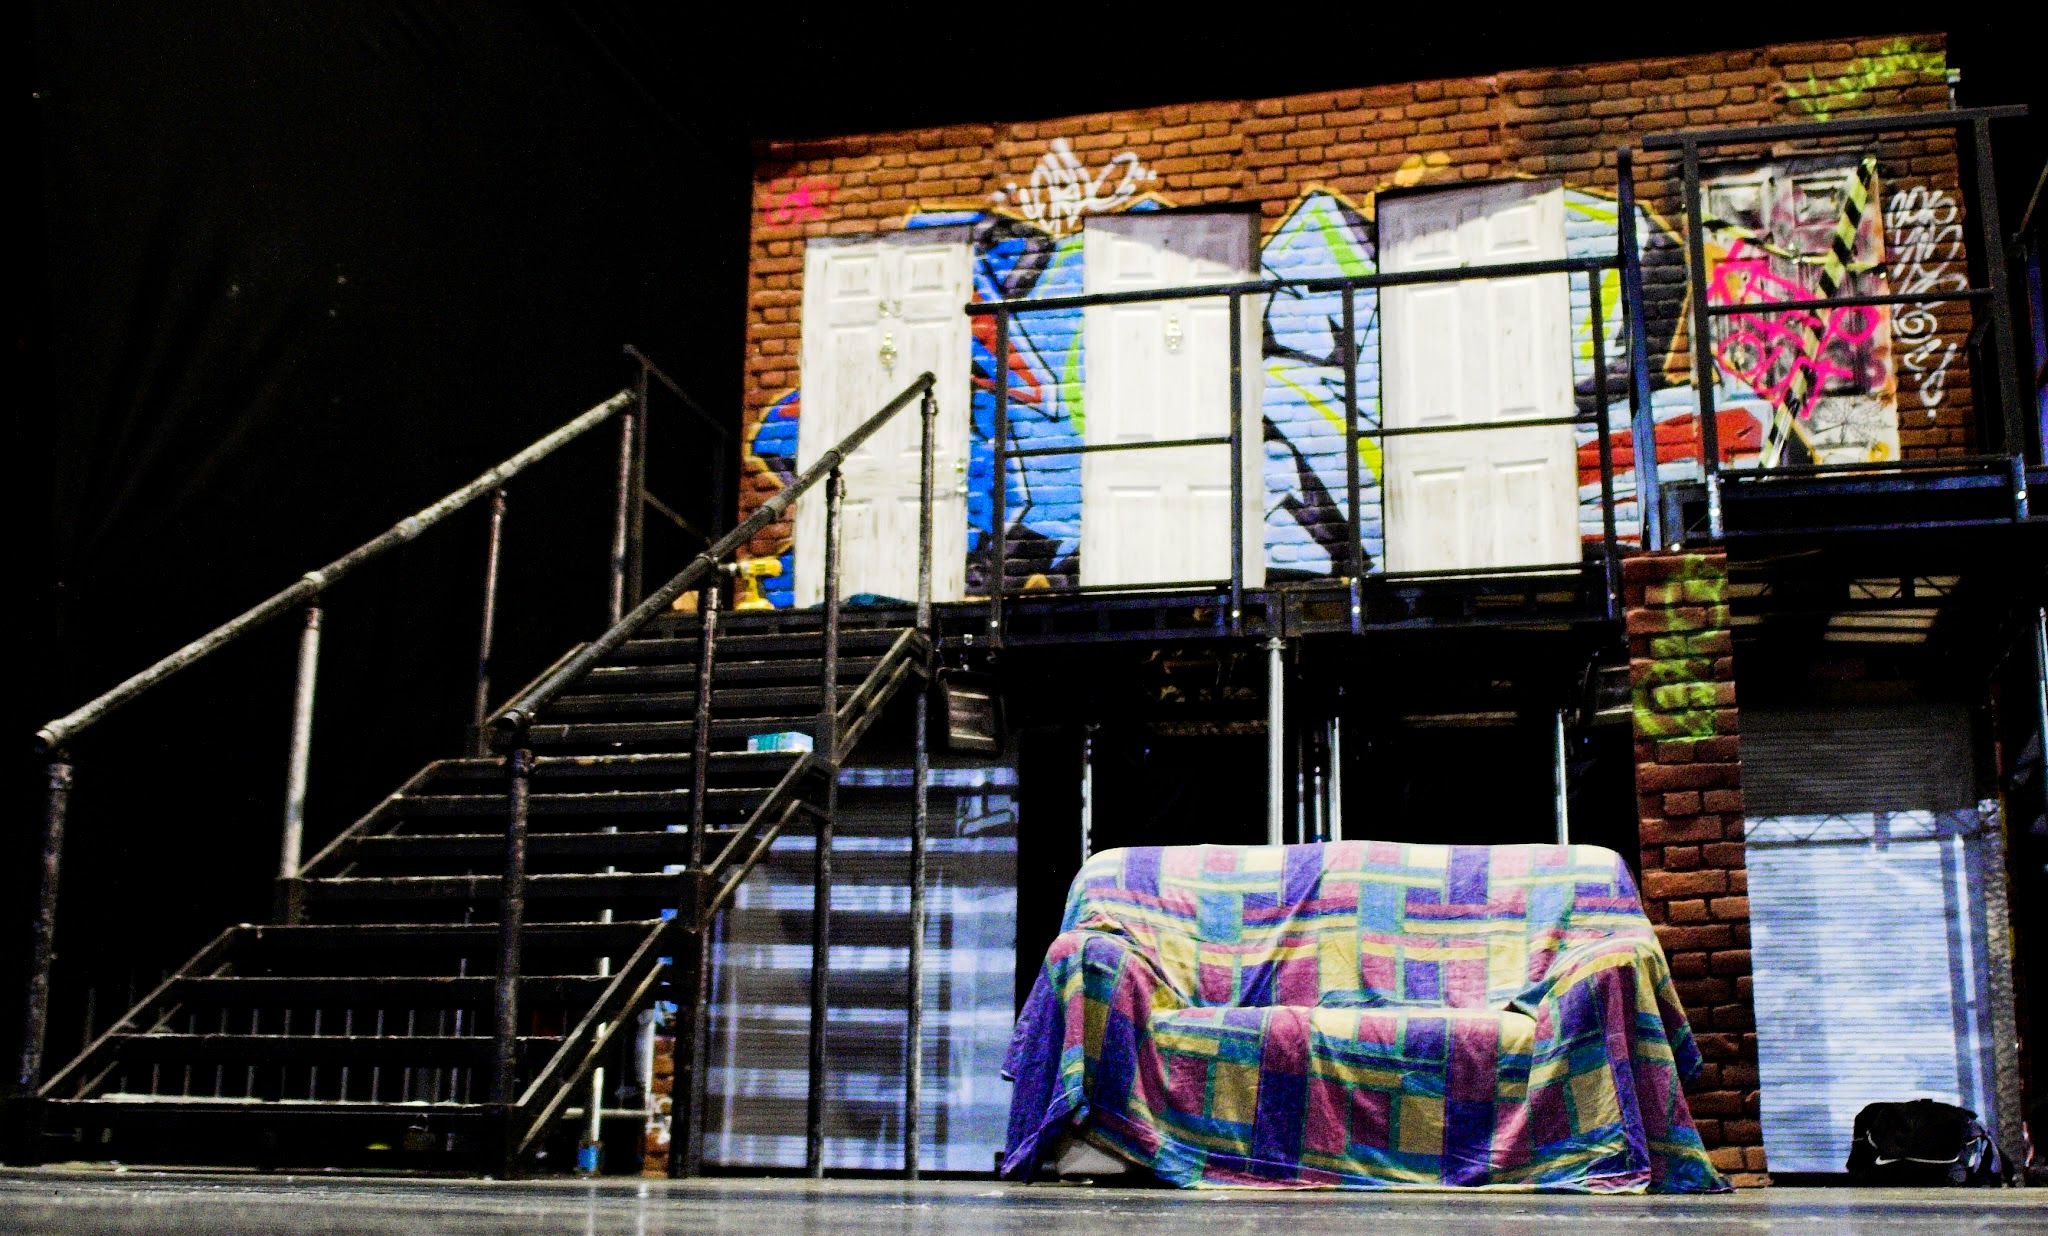
Steeldeck Gallery walkway
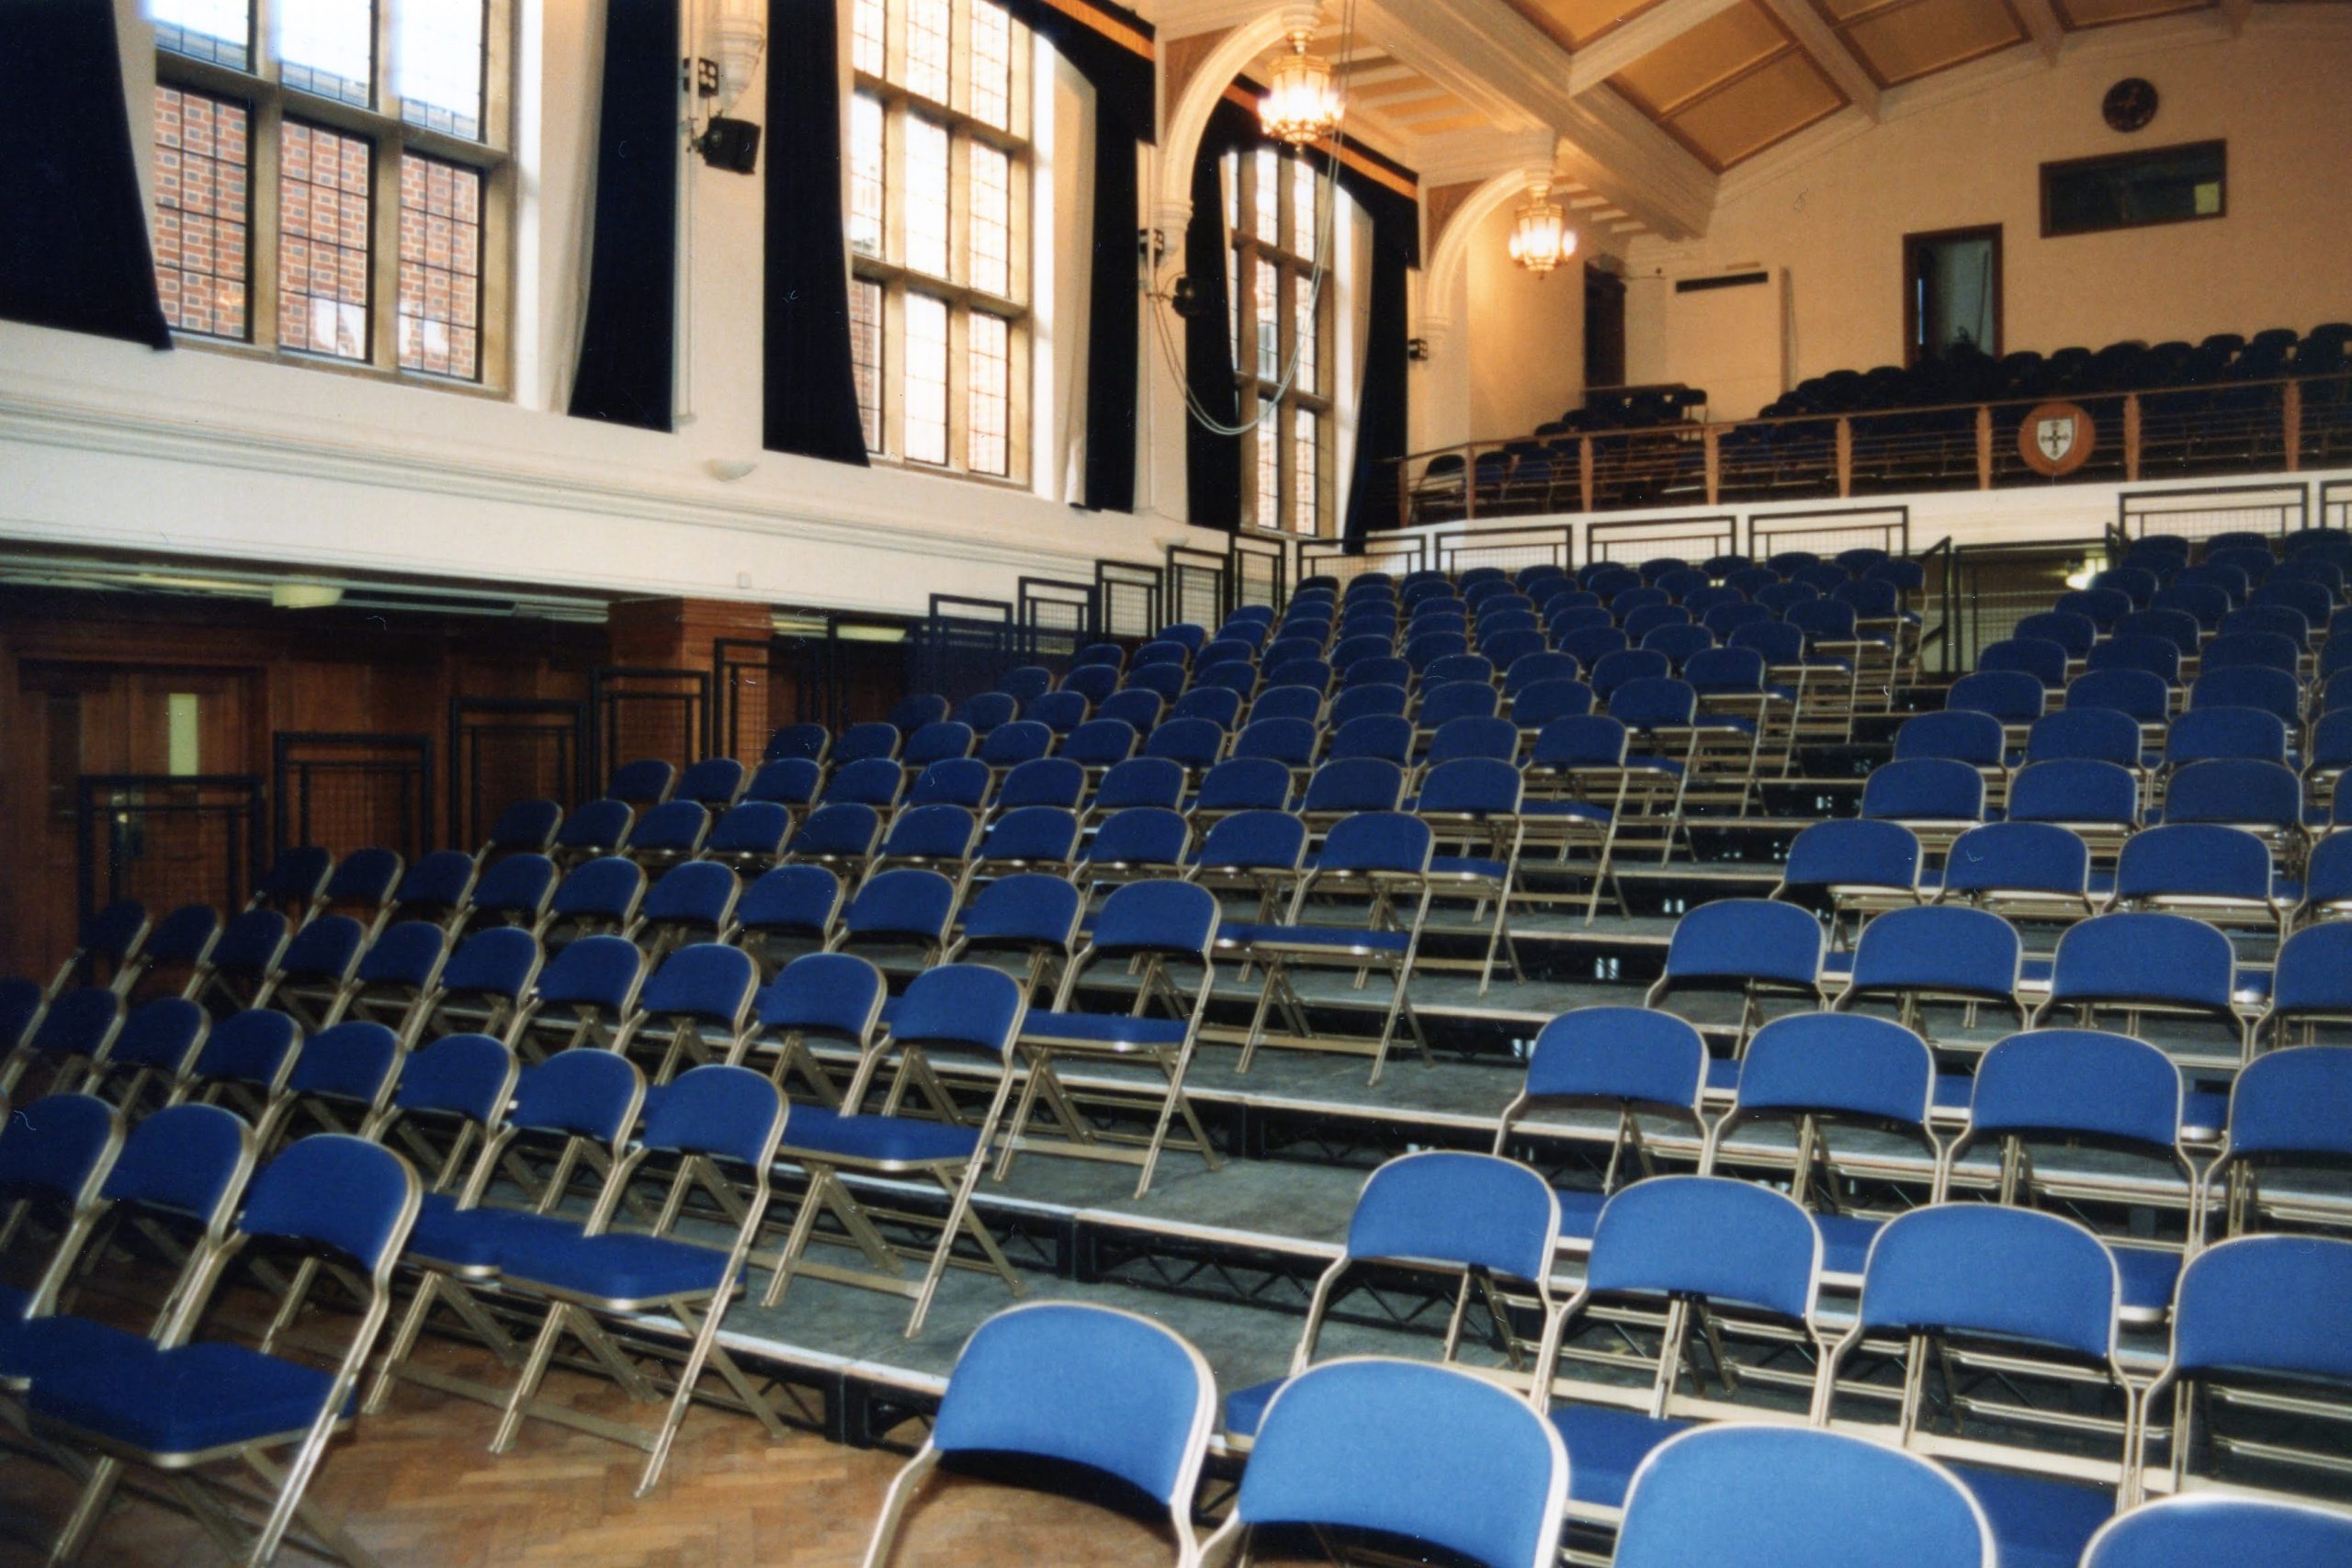
Modular tiering
Steeldeck 7.5 is ideal for modular tiering systems, accommodating both chair and bench seating, as well as choir tiers and orchestra risers.
Step-by-Step Setup
- Mark Out the Area
- Use a string line or tape marks to outline the area for the modular tiering.
- Begin building the tiering from the bottom row upwards.
- First Row Setup
- Place a stubby leg into each corner post. This is a short leg that leaves only the plastic bung visible below the corner post to minimize floor damage.
- Bolt the decks together. If you have enough personnel, we recommend bolting them together while they are still on their edge for easier handling.
- Building Additional Rows
- For each successive row, insert a stubby leg into the deck side that will sit on top of the previous row, and place a longer leg into the side that will sit on the floor. Then maneuver the deck into place.
- For larger risers, replace the stubby leg with the required height leg. Add kickboards or hard fascia on each tier to prevent chair legs from slipping through any gaps.
- Deck Overlap and Spacing
- Overlap the decks by 300mm to allow enough space for people to pass by once chairs are placed on the tiers. If the tiers are being used as bench seating, consider an overlap of 500mm to maximize the number of tiers within the space.
- Securing with Tiering Brackets
- Bolt each deck together and place a Stage Solutions tiering bracket on each end to secure them. The bracket clips onto the Steeldeck’s bottom rail, then bolts through the lower deck’s bolt holes.
- Continue Row by Row
- Repeat this process until the tier is complete. Use an 8ft x 3ft Steeldeck on the last row to ensure all tiers are uniformly sized.
- Handrails and Kickboards
- Attach handrails to the sides and rear of the structure. For tiers above 1500mm, add kickboards to the handrails to prevent items from being knocked off and potentially injuring people below.
- Leg Ties and Bracing
- Add leg ties to each row for extra stability, ensuring the tiers remain secure. Install any necessary bracing for tiers above 1500mm in height.
Dismantling the Tiering System
To dismantle the setup, simply follow these instructions in reverse, taking care with each step to safely handle each component.
Steeldeck Modular Tiering
Set-up on uneven ground
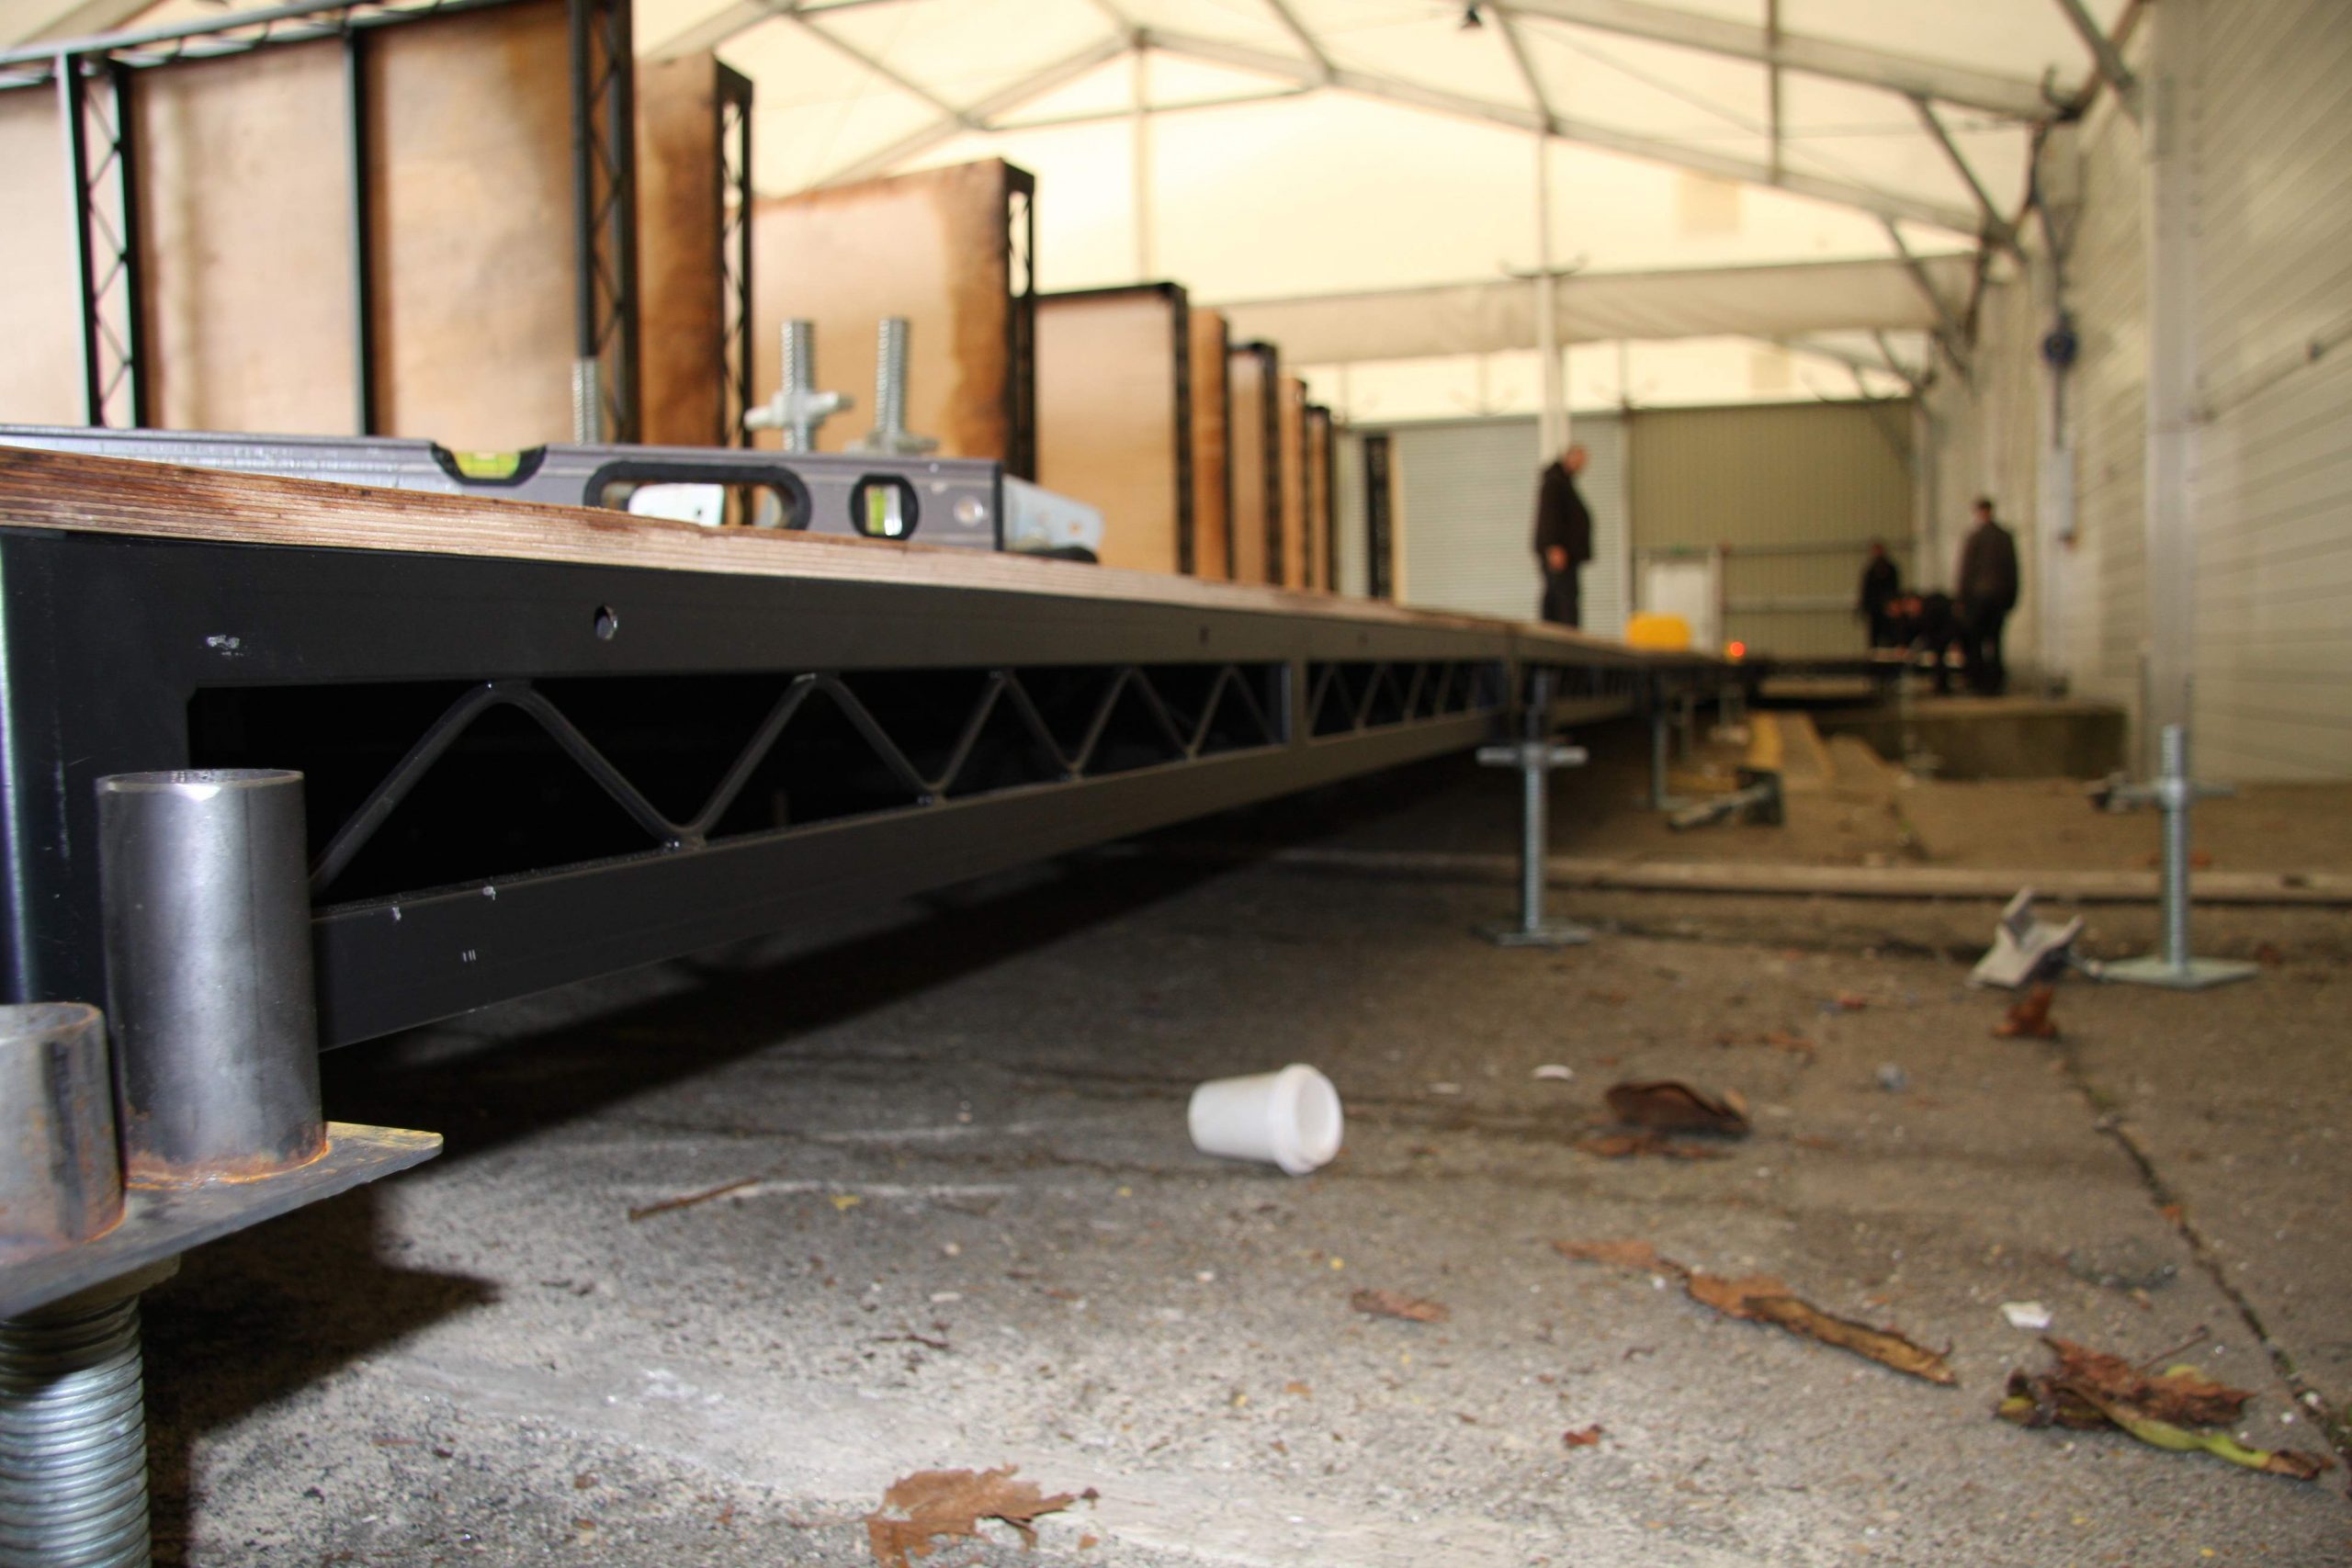
Steeldeck 7.5 excels in outdoor applications, whether for stages, tiering, camera platforms, disabled platforms, FOH areas, or VIP viewing platforms. Here’s a guide for setting up on uneven terrain using screw jacks and multi-couplers.
Step-by-Step Setup
-
- Identify the High Point
- Begin building from the highest point on the ground. Start at the front, back, or middle of the stage—wherever the high point lies—and work outward.
- Determine the stage’s average height, which is simpler for smaller stages. For larger stages, we recommend using a laser level.
- Mark Out and Set Up the First Deck
- After marking the stage area, position the first deck at the high point.
- Insert a screw jack into each leg and place a ply packer spreader plate beneath each screw jack.
- Level the deck with a spirit level, adjusting the screw jacks as needed to achieve evenness side-to-side and front-to-back.
- Attach Multi-Couplers
- Secure multi-couplers to each leg of the first deck. Each multi-coupler can support up to three additional decks, making it easier to level the entire stage platform.
- Add Additional Decks
- For the next deck, insert legs only in corners not supported by the multi-coupler.
- Position the deck with screw jacks and ply spreader plates beneath each leg, then bolt the decks together loosely (finger-tighten only until the stage or a row of decks is completed).
- Level the new deck as before, ensuring stability side-to-side and front-to-back.
- Repeat the Process
- Continue adding decks and leveling each, repeating these steps until the stage is fully built.
- Attach Handrails
- For stages above specific height thresholds, attach handrails as needed for safety.
- Identify the High Point
Steeldeck on screw jacks and multi-couplers
To dismantle, follow these procedures in reverse order.
It is very important that you follow the way the decks were set up as the previous deck supports the next one so they have to come out in reverse order.
Stage Accessories
We offer a wide range of accessories to enhance the functionality, safety, and aesthetics of Steeldeck 7.5 stages:
- Handrails
- Available in two types:
- Public Access Handrail: Designed for areas with heavy public traffic, ensuring maximum safety.
- Standard Handrail: Suitable for most applications, providing reliable support.
- Both types easily attach to the Steeldeck using our back-plate system for secure and straightforward installation.
- Available in two types:
- Kick-boards and Fascias
- Kick-boards: Essential for stages above certain heights to prevent items from falling off the stage.
- Hard Fascias: Provide a clean, polished edge for a professional appearance.
- Magnetic Drapes: Easily attach to the stage for added aesthetic appeal and functionality.
- Ramps and Treads
- DDA Compliant Ramps: Ensure accessibility for all users, designed to meet Disability Discrimination Act (DDA) standards.
- Treads: Steps in various configurations to suit different stage heights and applications.
Each of these accessories helps create a customized, safe, and visually appealing stage setup tailored to your specific needs. Let me know if you’d like more details on any of the options!
Metrodeck Tiering Handrails
Treads/Stage steps: we can supply a number of different types of treads
Modular Treads are perfect for hire companies as they comprise of 1ft and 2ft or 500mm and 1m modules which can be added together to make a set of treads to any height with an integrated handrail.
2ft modular treads in a 6ft configuration
Freestanding Tread comes set at the height you order and has a bolt on handrails.
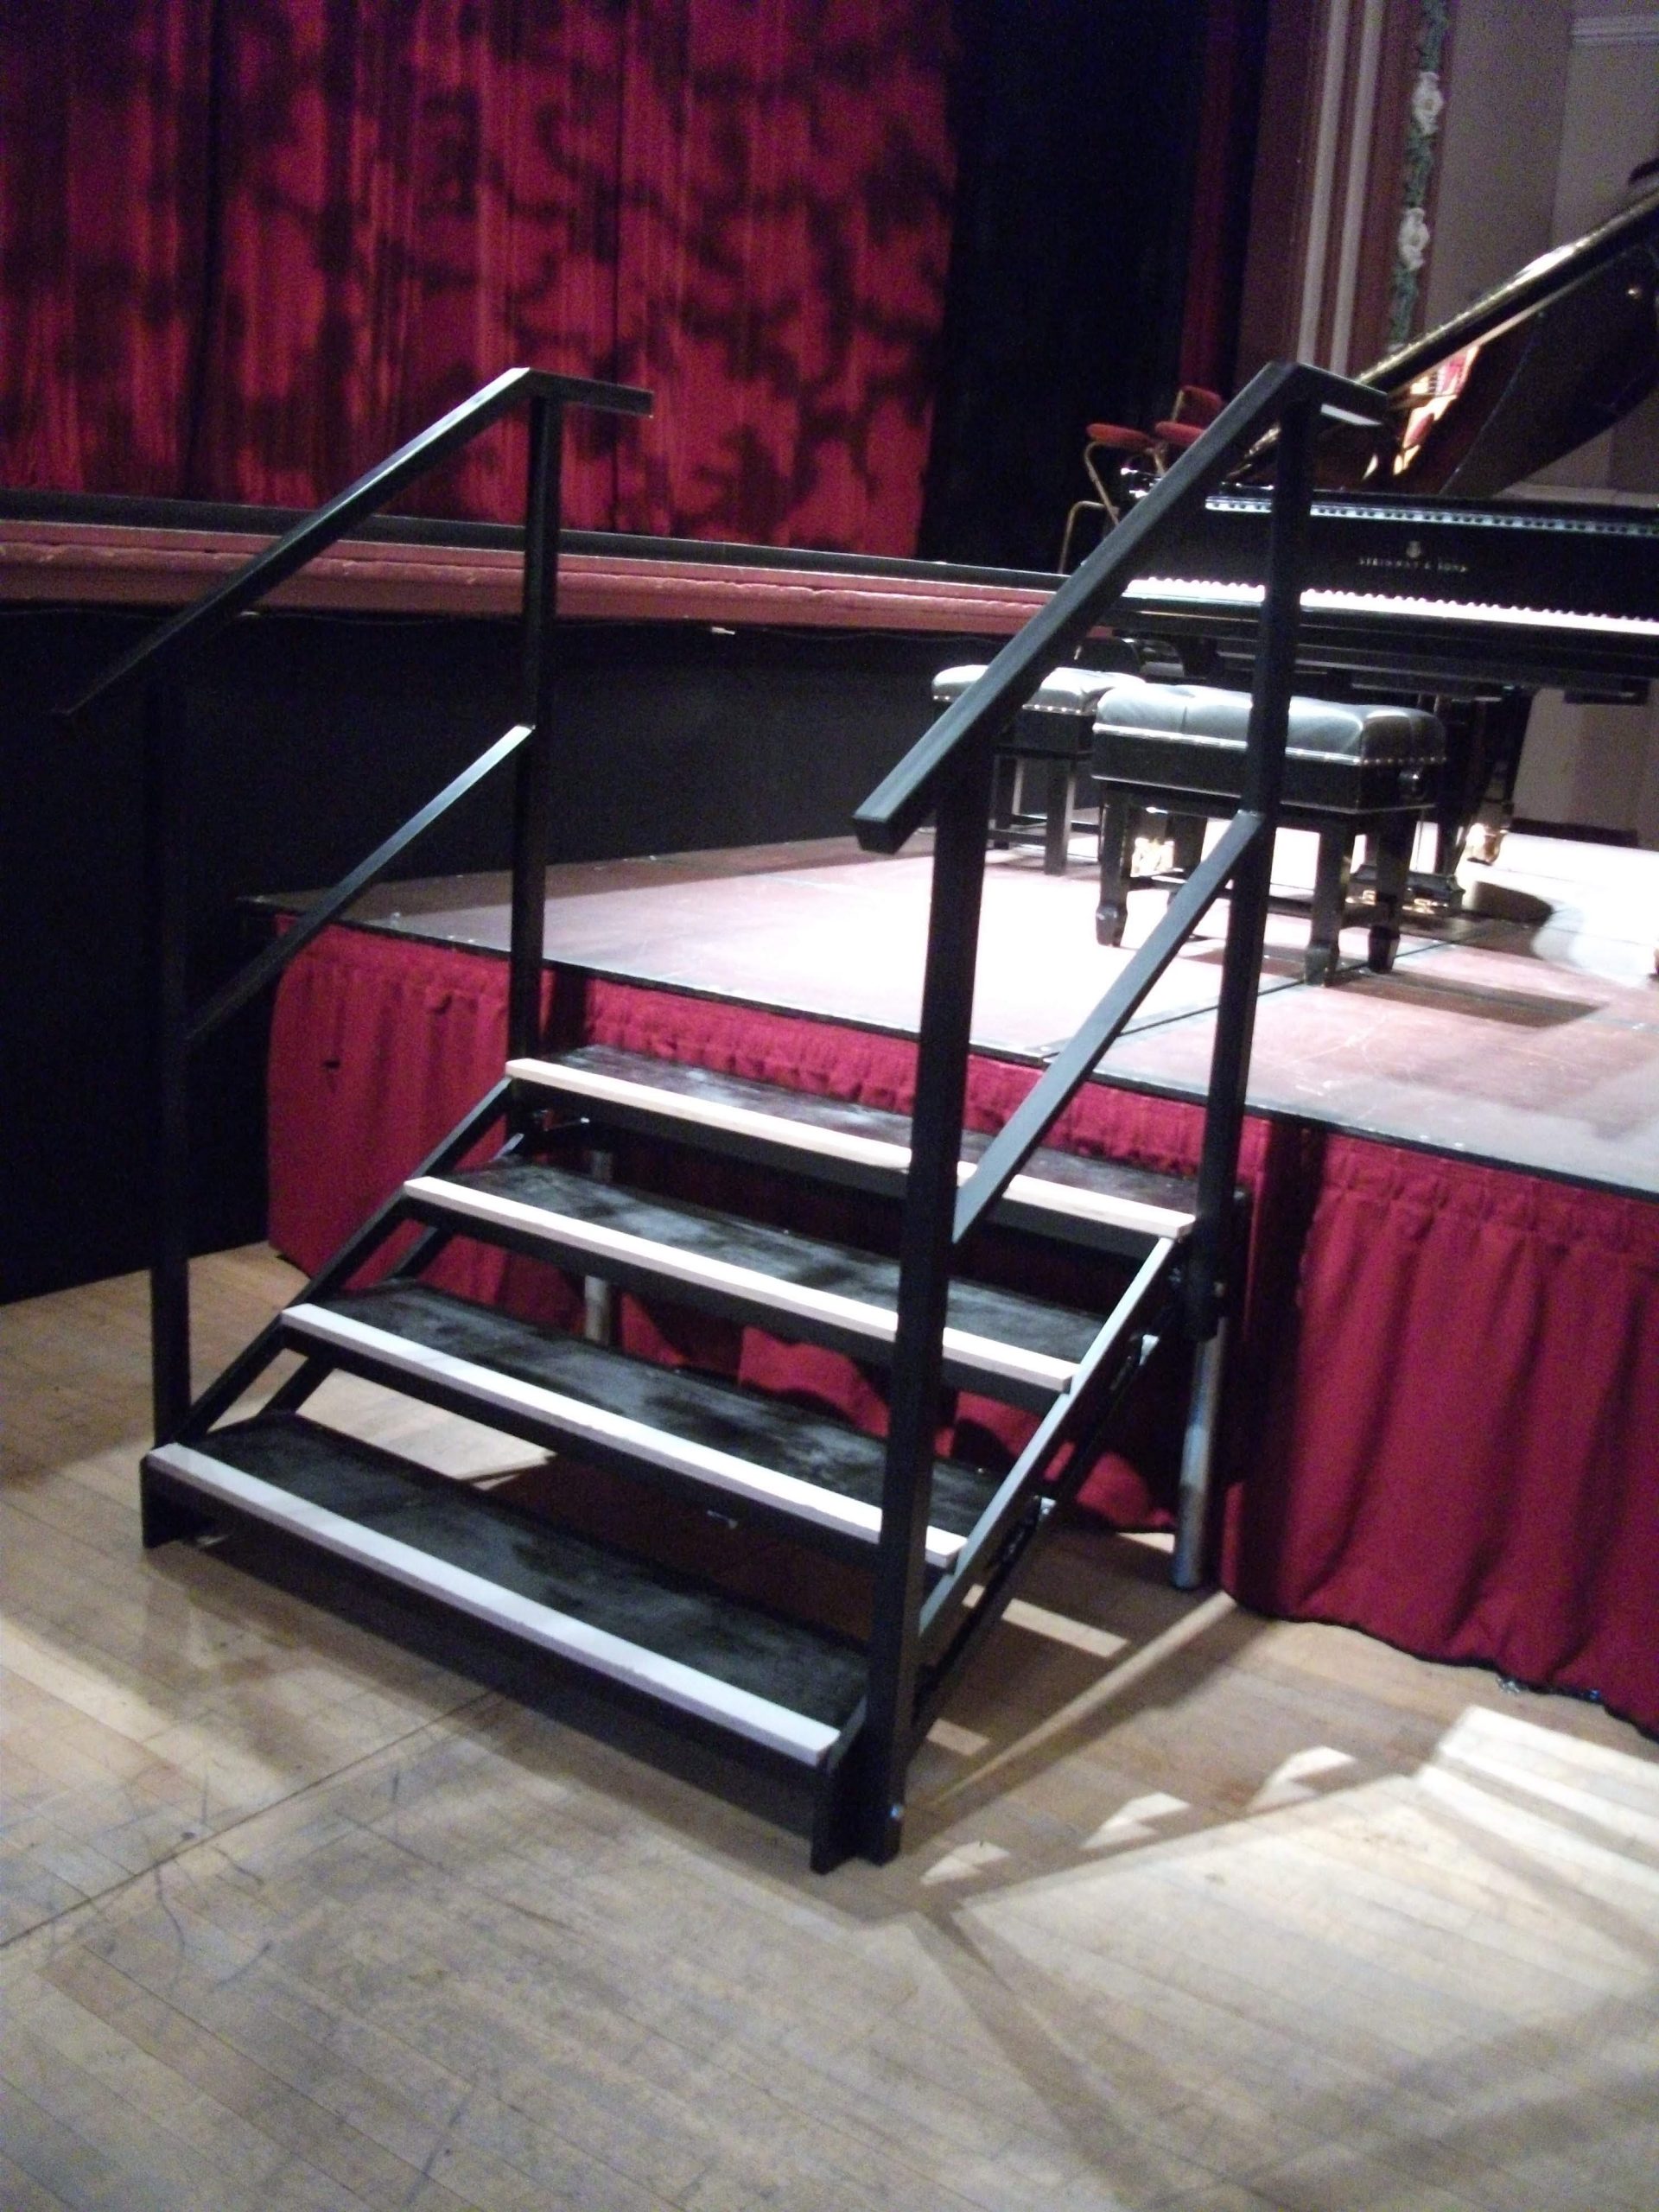
Stage steps with handrails
– Box treads are used on stages or tiers that are under 600mm/2ft high.
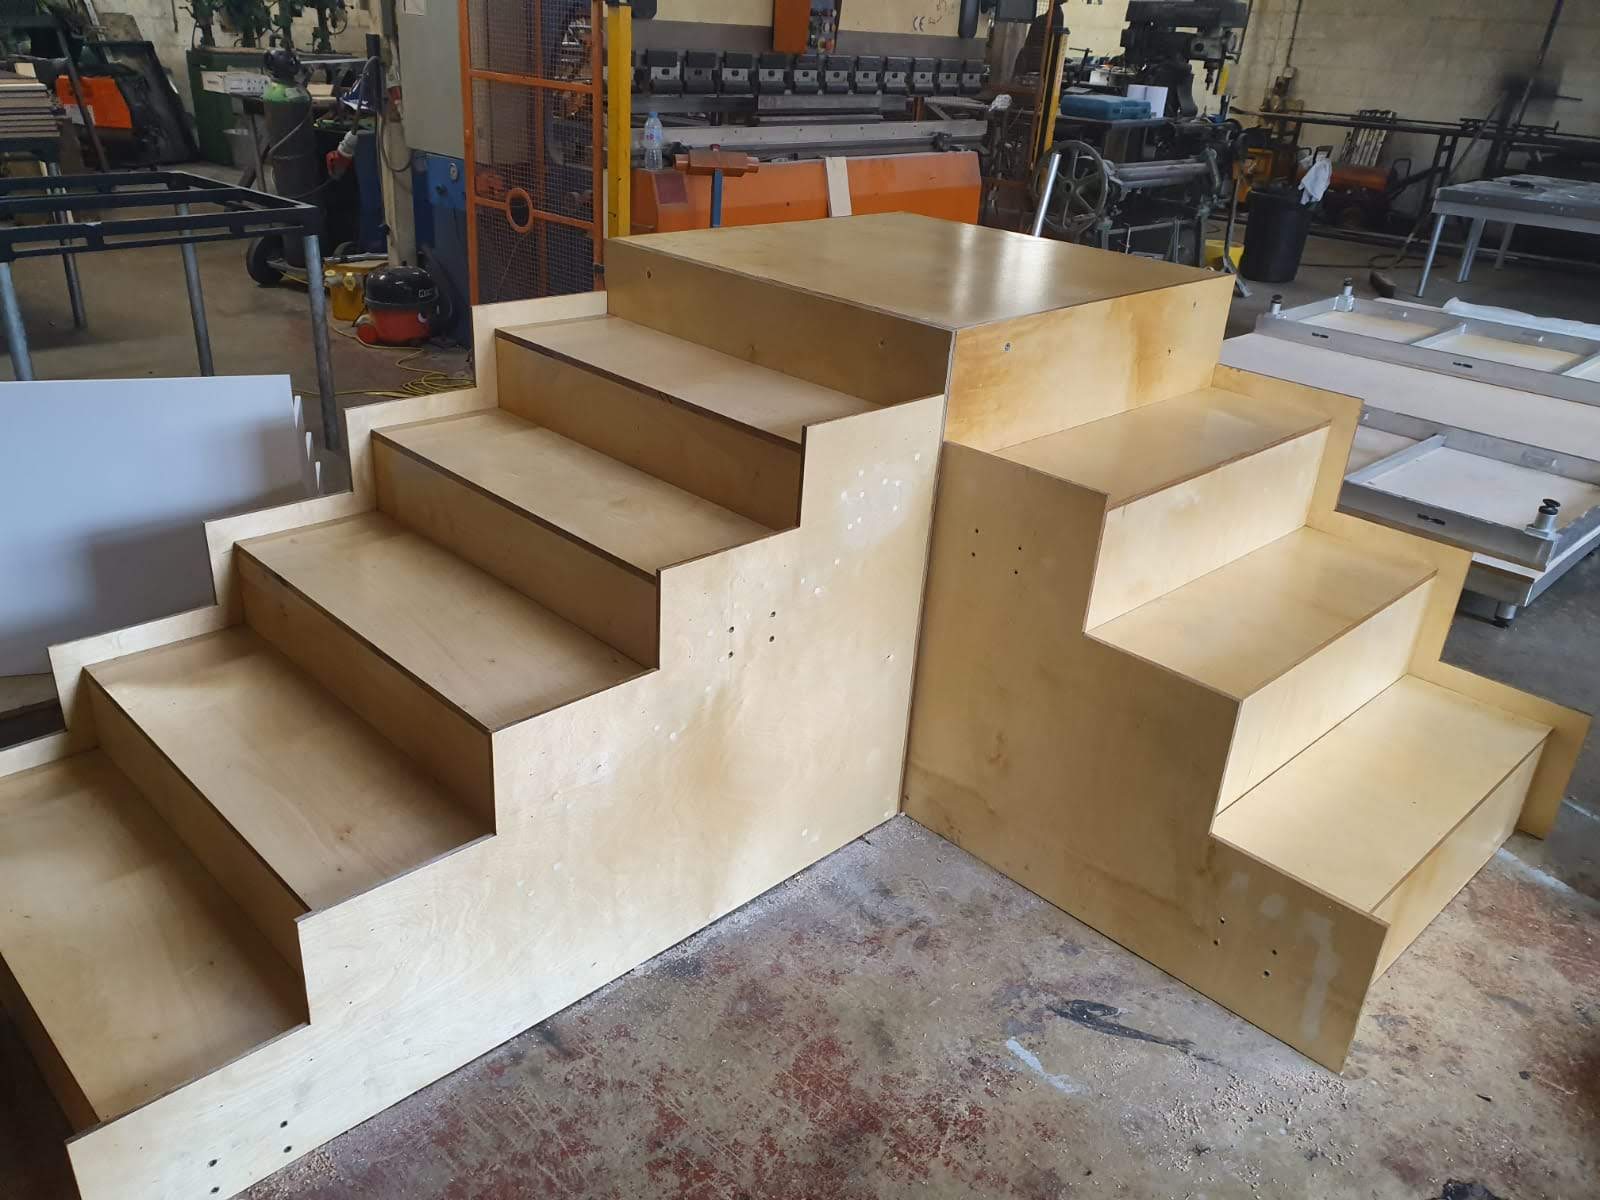
bespoke treads for offices
Bespoke treads may be supplied to any width and height. We can also supply you with curved treads and even a spiral staircase.
Bespoke Curved Treads
- Multicouplers: if you have read the uneven ground instructions then you will be aware of how useful multicouplers are. They can also be used for tiering and multilevel stages.
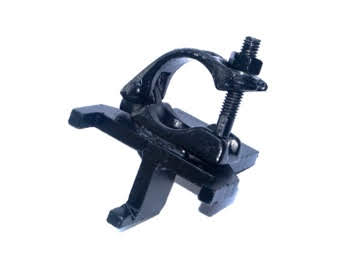
Mulit-couplers
- Bolt on Corner post: a corner post that can be moved along the truss for when you are building over seats and can’t quite get that leg in.
Tools
- Podgers
- 17mm-19mm Podger: Ideal for straight leg stages on even floors.
- 17mm: For tightening bolts.
- 19mm: For corner posts.
- Spike End: Aids in aligning bolt holes on the decks.
- 19mm-21mm Podger: Best for stages on uneven ground.
- 19mm: For corner posts.
- 21mm: For multi-couplers and scaffolding fittings.
- 17mm-19mm Podger: Ideal for straight leg stages on even floors.
- Impact Driver
- Recommended over an impact wrench due to lower torque, which is sufficient for most stage builds.
- 17mm/19mm Reversible Socket: A must-have accessory for the impact driver, eliminating the hassle of searching for sockets. Easily switch between bolts without needing to retrieve tools repeatedly.
- Boat Level
- Essential for ensuring accurate leveling when constructing stages on uneven terrain.
All these tools are available through us; feel free to reach out for pricing or further information!
We hope you have enjoyed this article and have found some of the information useful. If there is anything we have not covered and you would like to know more about, then please do get in contact with us, we like to help.
Tel: 01634 831719
Email: info@stagesolutions.uk.com
For more information Click Here or contact us with your brief and we will supply you with the Solution